
※ This article is based on notes from around 2024/8/21, so versions and screenshots may be slightly outdated.
Introduction
Let’s build a virtual host server environment — one found in any typical household of someone working in tech.
In the past I ran things on a cheap server + free VMware ESXi, but as everyone knows, ever since that company was acquired by B-whoever, things went completely sideways: the free version disappeared, and the paid version jumped to several times the price, reaching a tier where even serious enterprise proposals become difficult to justify.
If you need a virtual environment, you could run WSL, VirtualBox, or Docker inside a PC, but since I restart my desktop often, running server-like things on the workstation means slow boot times and resets on restart — all very inconvenient.
As I wrote in previous articles, I tried Ubuntu on a Raspberry Pi and CentOS Stream, but ran into problems:
- ARM CPU is special hardware, so many apps aren’t supported
- Had to rebuild libraries just to run things on ARM
- Installing a native OS makes things inflexible
- Multiple environments, apps, and libraries get mixed together and become impossible to untangle
- 4GB of RAM isn’t enough. Docker is out of the question (Raspberry Pi 4B spec)
- The Raspberry Pi 4B has a quirky power spec (5.1V/3A USB-C), and long-term use causes the AC adapter to degrade and occasionally drop out
I’d been uneasy about this for a long time, and in August 2024 I decided: I’m building an x64 virtual environment.
Proxmox VE (Virtual Environment)
Released as Proxmox VE 1.0 by Austria’s Proxmox Server Solutions GmbH in 2008, it has been continuously updated through version 8.4 as of January 2025. It’s been popping up more and more as an alternative to VMware ESXi.
It supports full virtualization guest OSes based on Linux KVM, with community-driven Japanese localization progressing steadily. There are quite a few people migrating from ESXi to Proxmox VE.
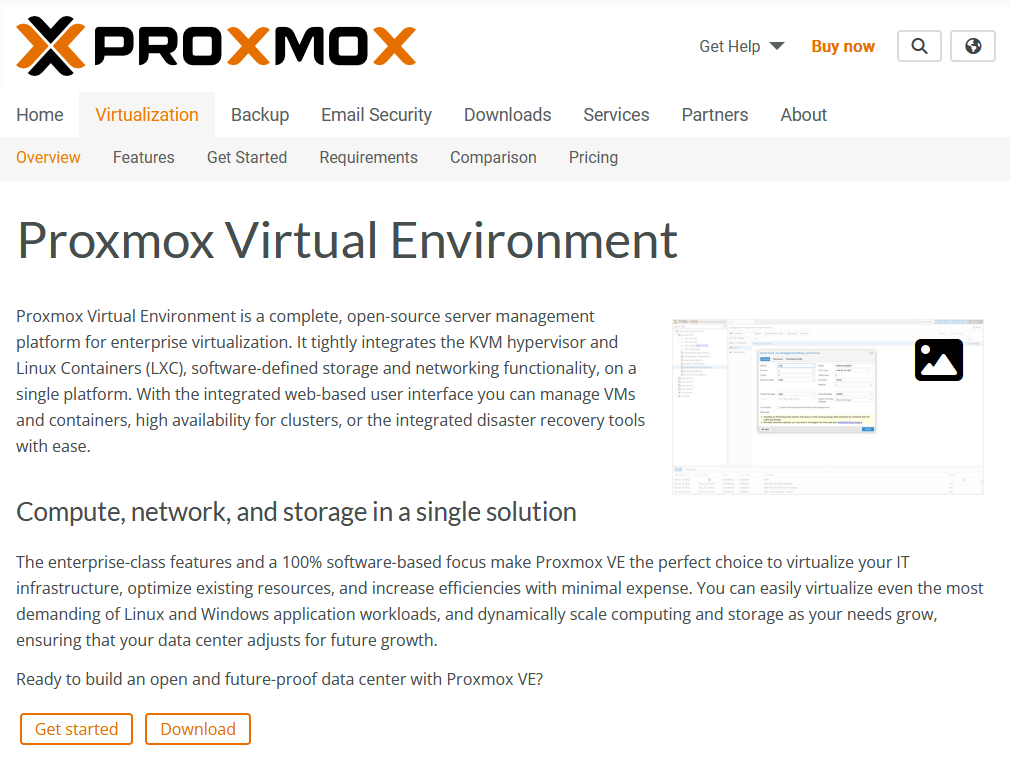
In practice it’s close to a Debian Linux-based distribution. In addition to Linux KVM (full virtualization), it can also run LXC containers (para-virtualization).
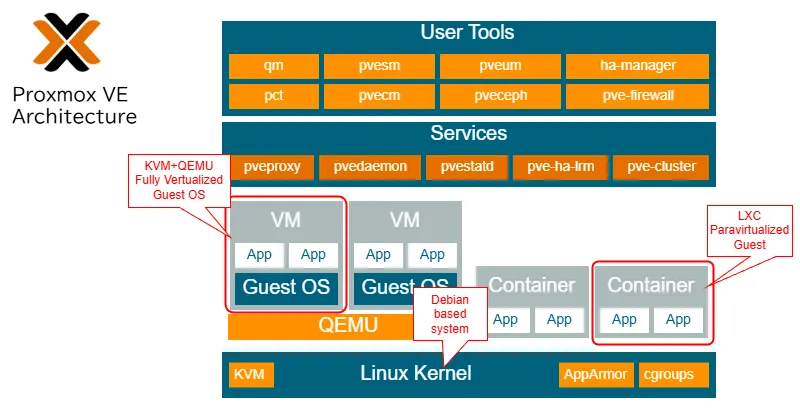
Besides the Web GUI, it also supports scripted operation from the Debian Linux-based CLI console.
So, let’s build a Proxmox VE home virtual host server.
Buying the Hardware
Ordered the HUNSN RS52 on Amazon. Since it ships directly from Shenzhen, China, delivery takes about 3 weeks.
I built a compact router with the HUNSN RS34g in a previous article — this is its successor/higher-end model. The company puts out a huge number of similar appliances and they’re cheap. My home isn’t the kind of over-the-top setup with a 19-inch rack, so this size is just right.
| Front | Rear | Bottom opening |
|---|---|---|
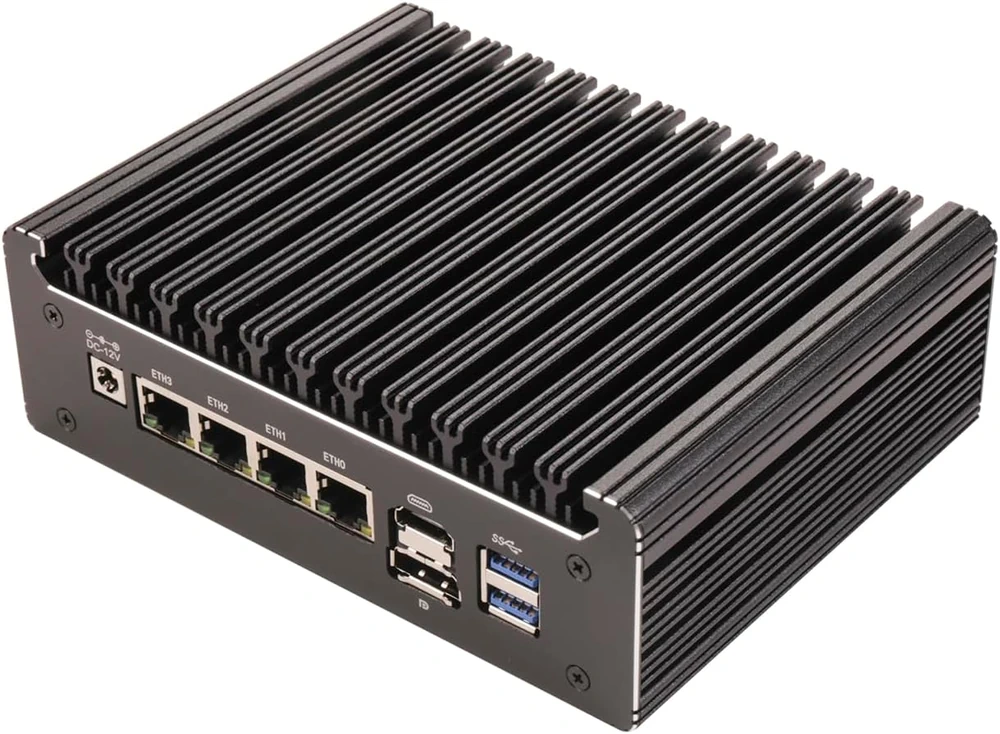
|

|
|
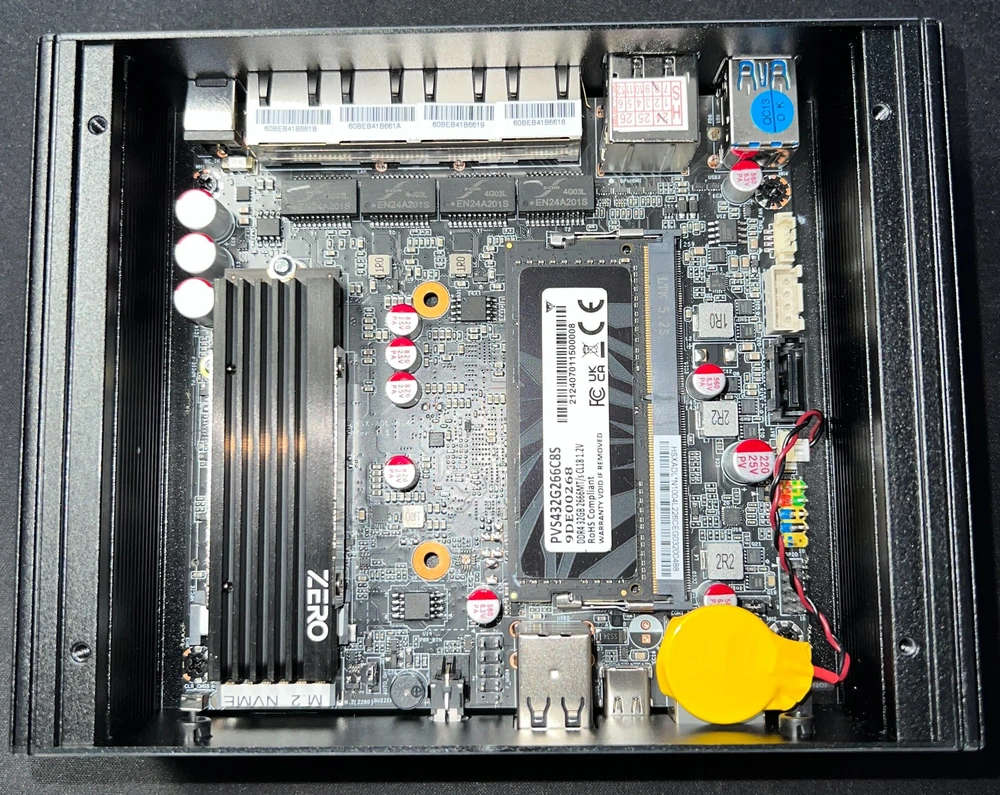
I took it apart while I was at it.
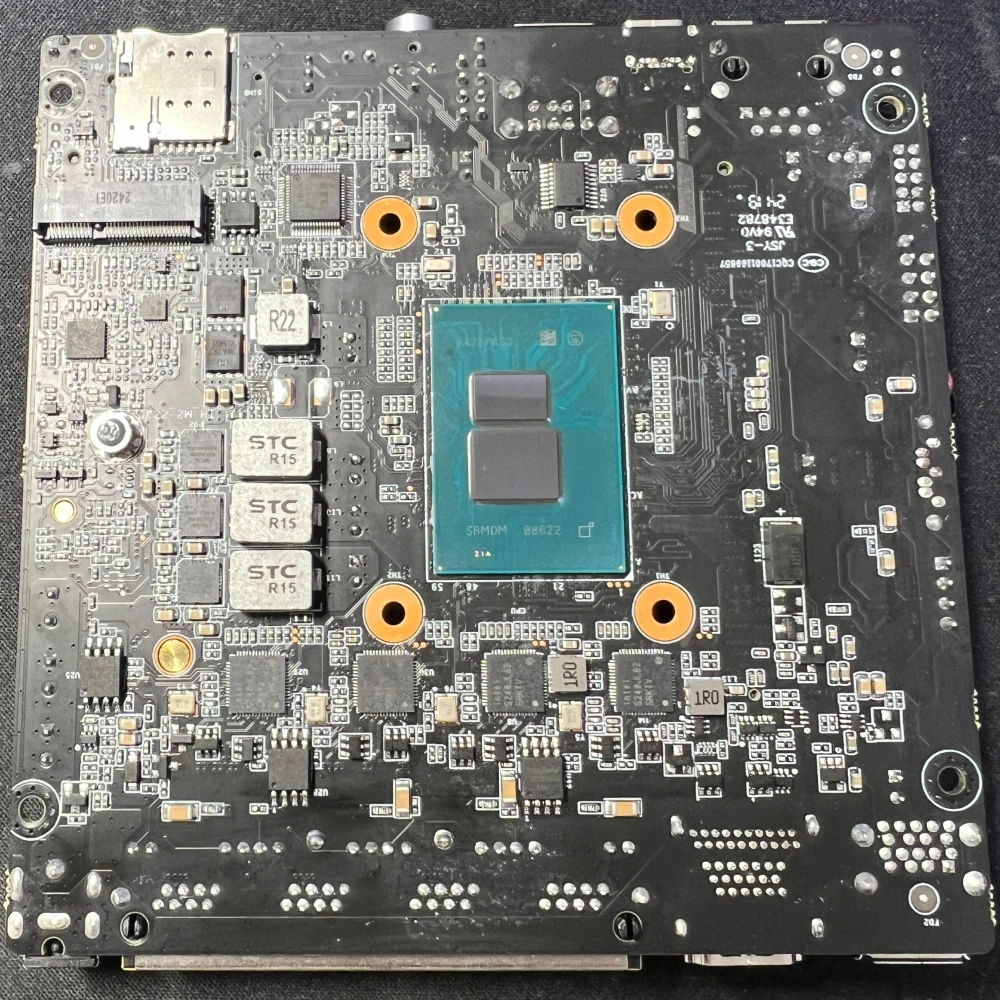
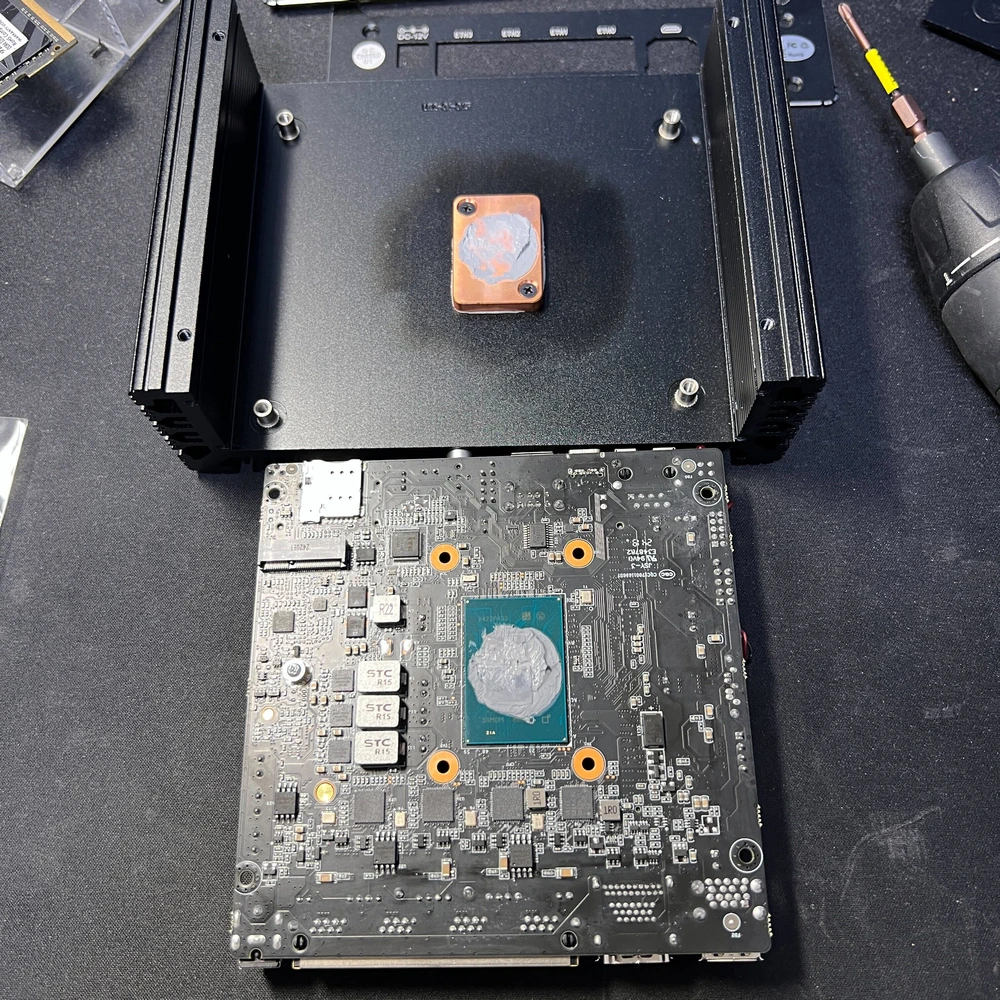
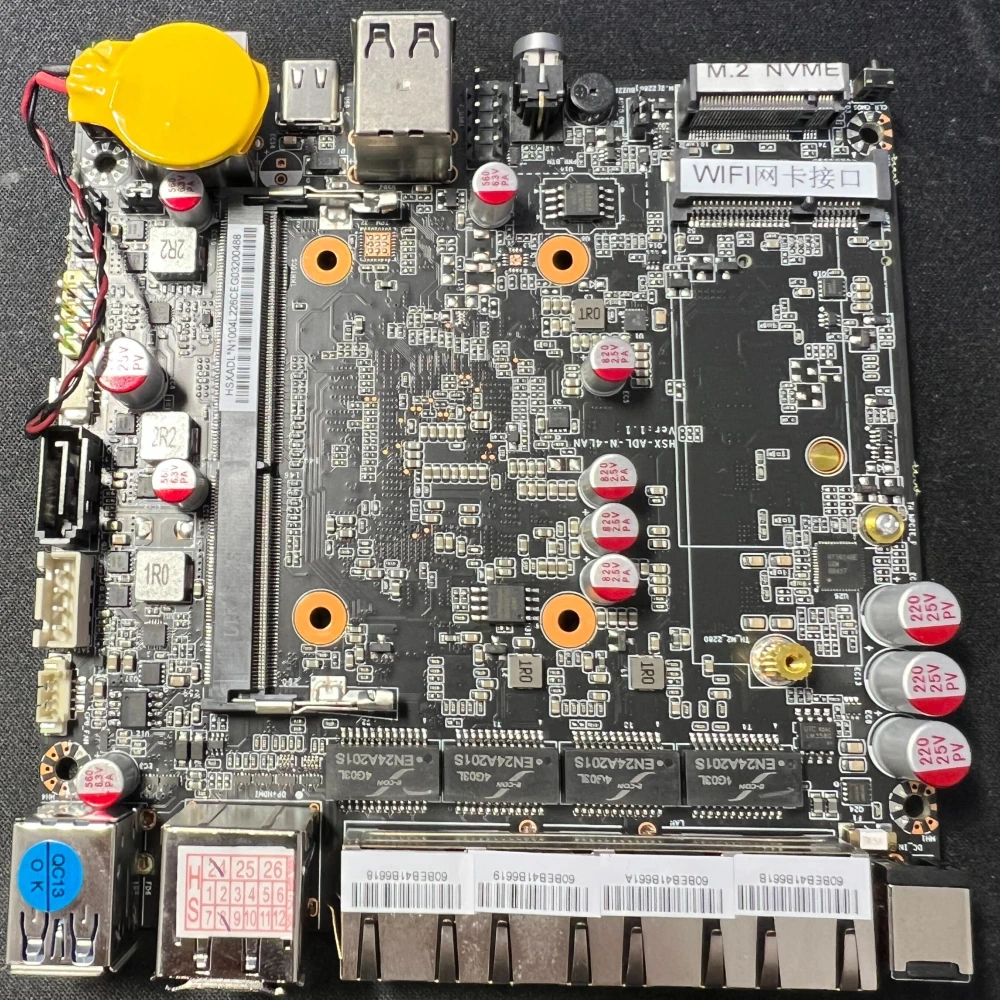
| Board top | Board top with heatsink contact area on upper cover | Board bottom |
|---|---|---|
|
|
|
| The green module in the center is the N100 Spec code: SRMDM Intel I226-V ×4 below Spec code: SRKTV |
CPU contacts cover via thermal paste + copper plate (Reapplied thermal paste afterward) |
SO-DIMM slot, M.2 NVMe, WIFI (miniPCIe) socket |
Silk printing on the bottom of the board reads HSX-ADL-N-4LAN Ver:1.1. A quick search suggests the OEM source is CncTion.
Specs
| Item | Details |
|---|---|
| Manufacturer/Model | HUNSN RS52 Micro firewall appliance |
| CPU | Intel N100 4-core / 6M cache / 3.4GHz / TDP 6W |
| Memory | SO-DIMM DDR4 3200MT/s up to 32GB |
| Storage | M.2 NVMe SSD slot, SATA connector |
| Network I/F | Intel I226-V (2.5GbE) ×4 |
| Other I/O | Serial (RJ45), HDMI×2, DisplayPort, USB-A×2, USB-C×2 |
| Power | AC 100-240V, DC 12V/3A |
| Chassis | Aluminum, fanless |
| Dimensions | 163 × 126 × 53mm |
| Weight | 1.2kg |
| Included | AC adapter, internal SATA cable |
Additional Parts
| Item | Part Name | Notes |
|---|---|---|
| Memory | Patriot Memory Viper Steel DDR4 2666MHz PC4-21300 32GB SODIMM |
Purchased on Amazon |
| SSD | Western Digital WD_BLACK SN750SE NVMe SSD 1TB | Spare from old PC |
| SSD heatsink | Spare from old PC Effectiveness unknown |
What You Need for Installation
- USB flash drive
- Used for PROXMOX VE installation
- 16GB or less recommended for compatibility
- HDMI cable
- Monitor
- USB keyboard
- LAN cable
Installer Preparation
Download Proxmox VE Installer on PC
- Download the latest Proxmox VE 8.x ISO Installer from Proxmox Downloads
Create Installation USB with Rufus
- Download Rufus to your PC
- Insert the installation USB drive into the PC
- Run Rufus directly without installing
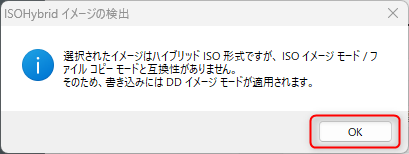
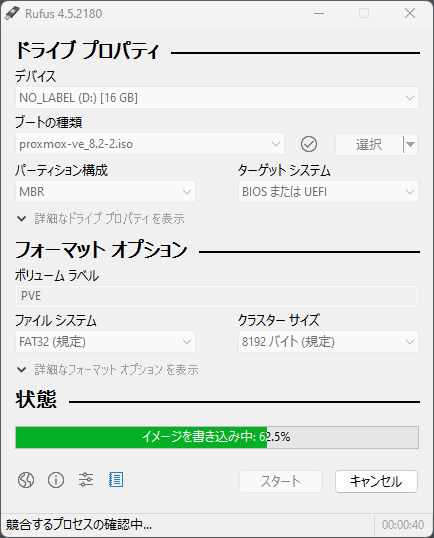
In Rufus, [select] the Proxmox ISO file and click [Start]
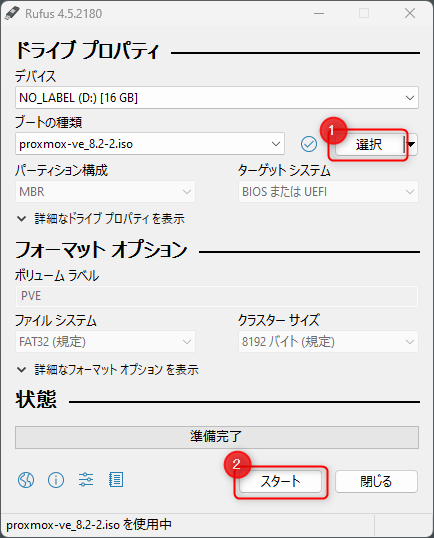
When you select the ISO file, a confirmation dialog appears for writing in DD image mode — click [OK]
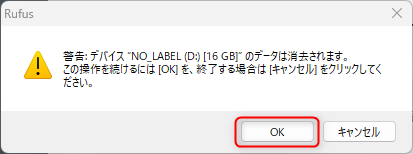
A warning about full deletion appears — click [OK]
Wait for writing to complete
Remove the USB drive from the PC when done
Hardware Preparation
- Open the back panel of the HUNSN RS52
- Insert SO-DIMM memory into the slot
- Attach the heatsink to the NVMe SSD first, then secure it in the M.2 slot
- Close the back panel
- Connect monitor to HDMI and USB keyboard
- Do not insert the installer USB yet
- Connect the AC adapter
HUNSN RS52 BIOS Settings
Boot once without the USB to check the BIOS settings
- Enable ACPI
- Main
- System Time — set to current time
- Restore AC Power Loss: Last State
- Advanced
- CPU Configuration
- Intel VT-x: Enabled
- ACPI Settings
- Enable ACPI Auto Configuration: Enabled
- CPU Configuration
- Chipset
- VT-d: Enabled
- Security
- Secure Boot: Disabled
- Boot
- FIXED BOOT ORDER Priorities
- Boot Option #1: USB Device
- Boot Option #2: NVME
- FIXED BOOT ORDER Priorities
- Save & Exit
- Save Changes and Reset
Installing PROXMOX VE
- Insert the USB drive with the Proxmox VE installer
- Connect a wired LAN cable to Eth0 on your home network
- Assumes an environment where DHCP provides internet access
- Boot the HUNSN RS52
- The installer should appear on screen
Installer Steps
No screenshots below, but proceed using common sense:
- Select Install Proxmox VE (Graphical)
- END USER LICENSE AGREEMENT (EULA)
- [AGREE]
- Proxmox Virtual Environment (PVE)
- Verify the Target Harddisk shows the expected SSD model
- [Options]
- Select xfs for Filesystem
- [OK]
- [NEXT]
- Local and Time Zone selection
- Country: Japan
- Time zone: Asia/Tokyo
- Keyboard layout: Japanese
- [NEXT]
- Administration Password and Email Address
- Enter admin password and personal email
- Management Network Configuration
- Hostname (FQDN): proxmox.home ※ decide on a server hostname
- IP Address: 192.168.0.100/24 ※ IP address within your home network Gateway: 192.168.0.1 ※ home network router IP
- DNS Server: 192.168.0.1 ※ home network DNS address
- [NEXT]
- Summary
- Review content
- Check ✔ “Automatically reboot after successful installation”
- Remove USB drive when rebooting
- [Install]
- The Creating LVs screen may appear to freeze for 10–20 minutes — just leave it.
- Reported in the forum as occurring with NVMe installation, but the exact cause is unclear
- Once the screen starts moving again it finishes in 1–2 minutes
- If you don’t remove the USB at reboot, the installer will start again
Initial Configuration After Proxmox VE Installation
First Login
Initial configuration is done from a browser
https://
Example: https://192.168.0.100:8006/
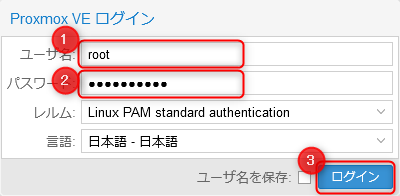
On the login screen, change Language to Japanese (if desired) or leave as English
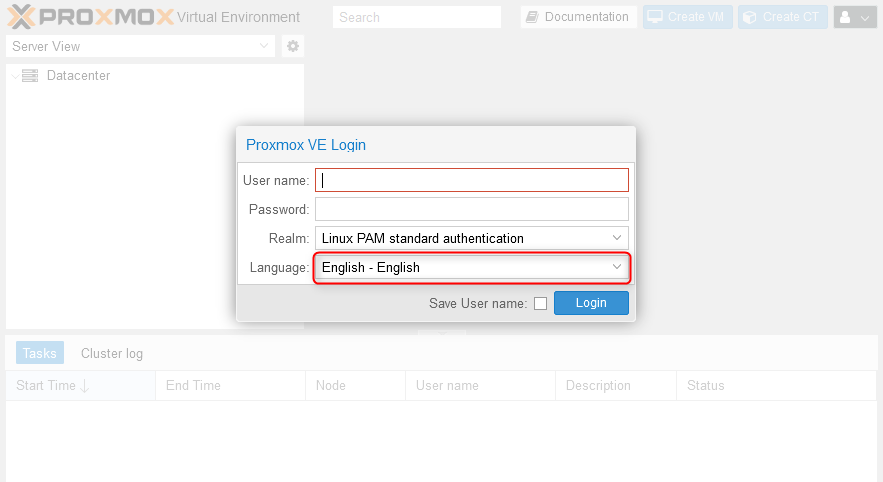
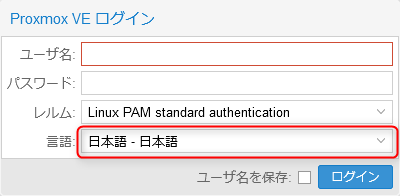
(1) Username: root
(2) Password: the password set during installation
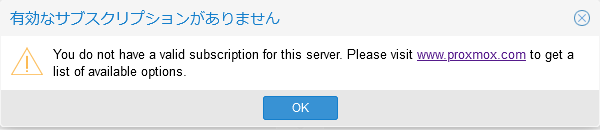
A “No subscription” warning appears → [OK]
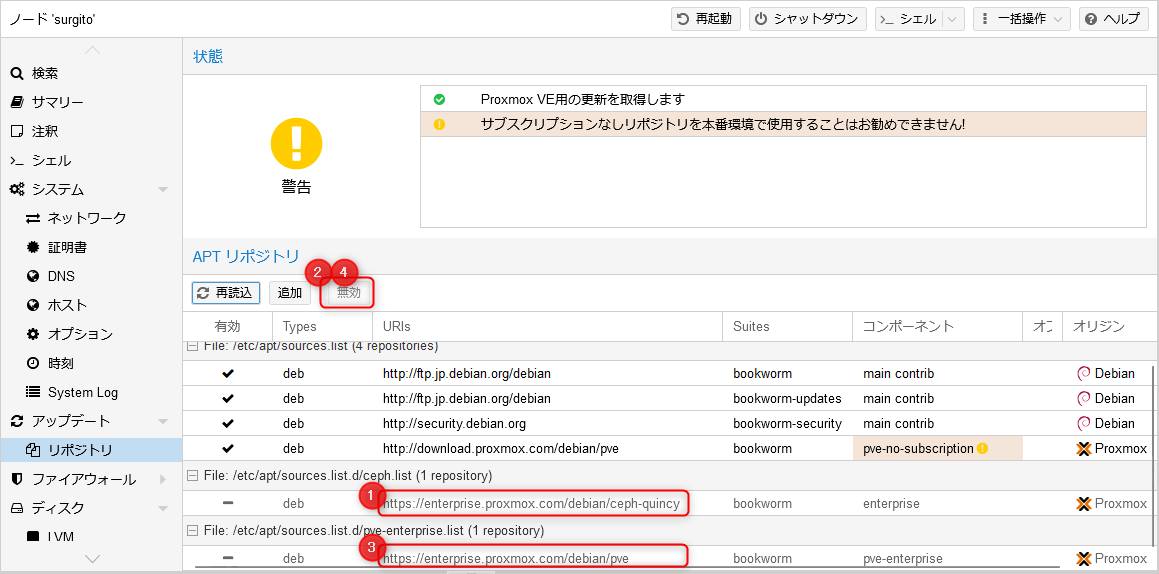
Switch to Free Repository
Add the no-subscription repository
Left menu → select host → node menu [Repositories] → [Add] button
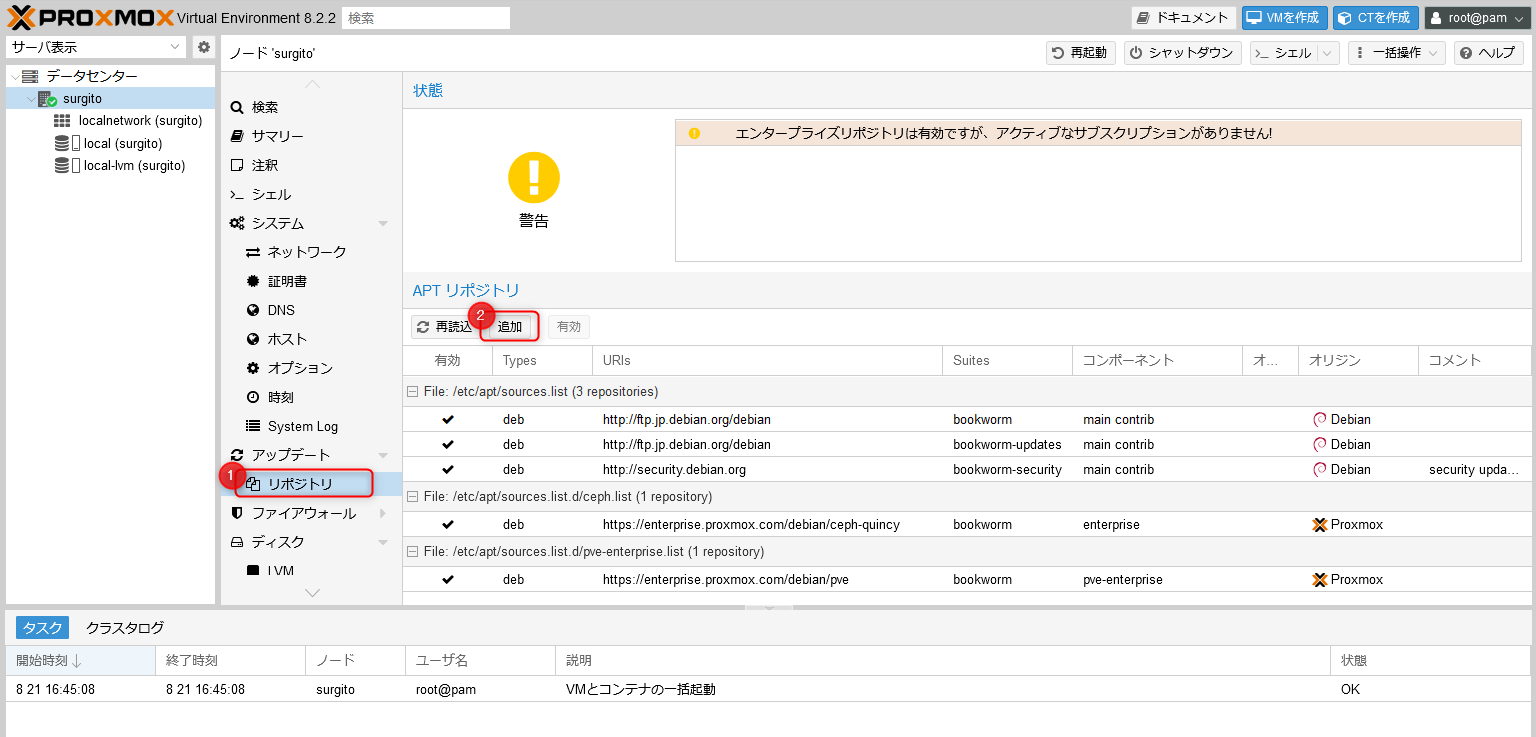
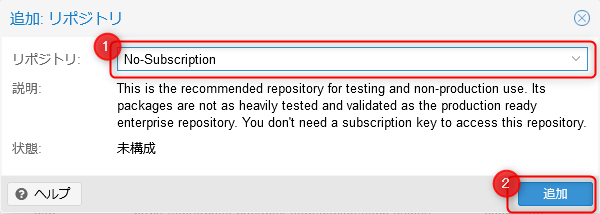
- https://enterprise.proxmox.com/debian/ceph-quincy
- https://enterprise.proxmox.com/debian/pve
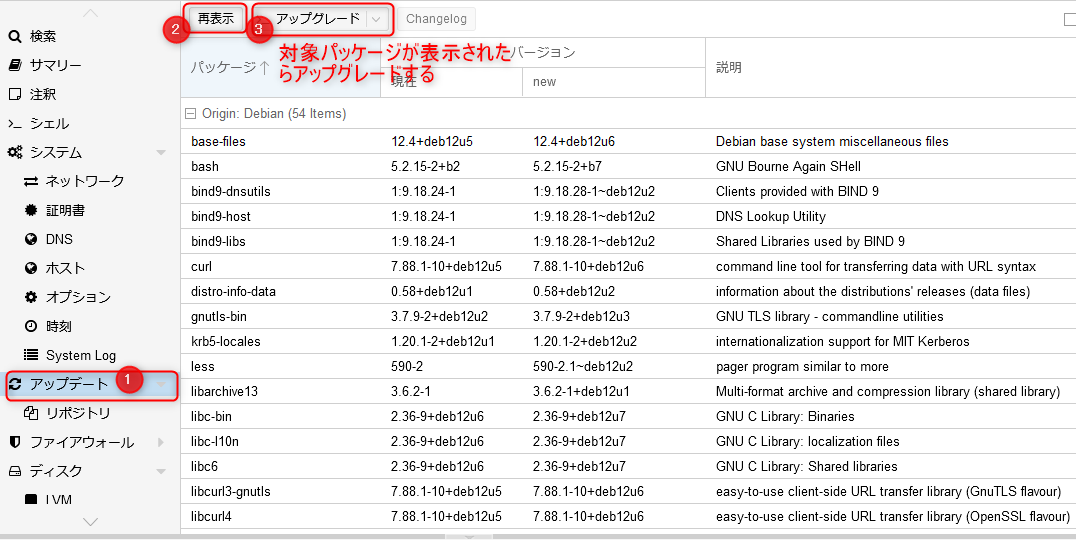
- Node menu [Updates] → [Refresh] button
- A list of upgradable packages appears
- [Upgrade] button
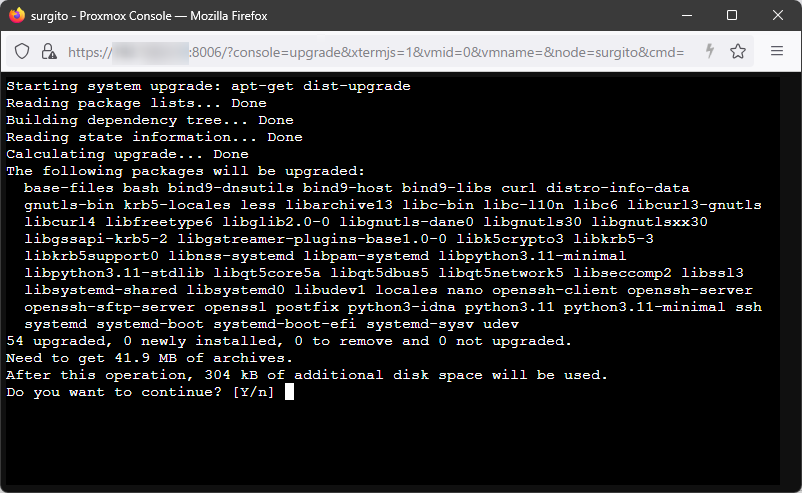
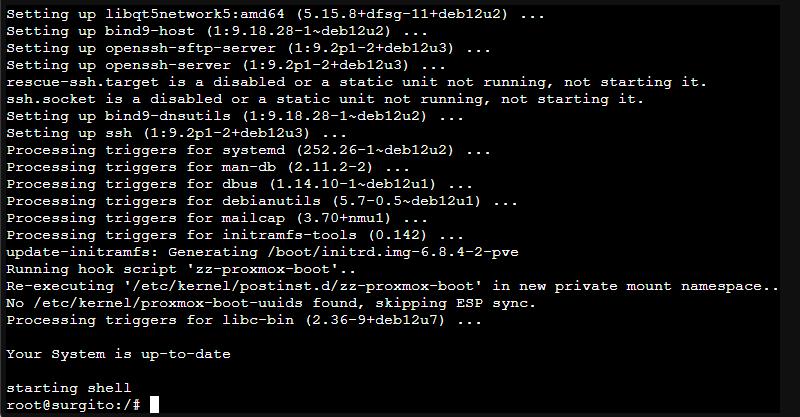
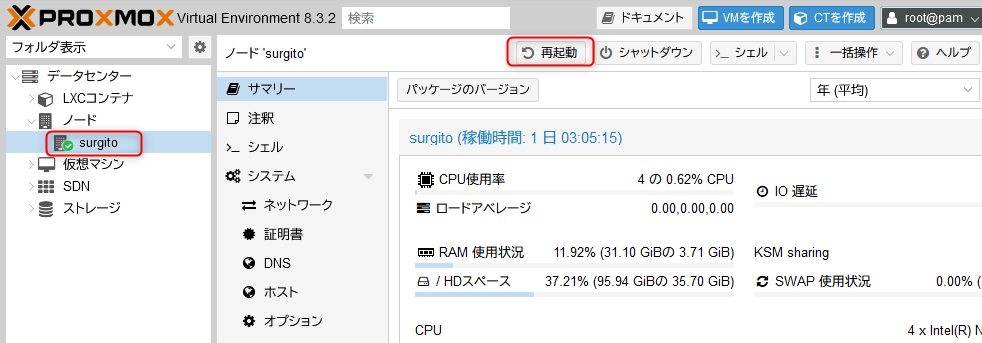
If a kernel update arrives, restart Proxmox VE itself.
Additional Proxmox VE Configuration
Register SSH Public Key
Registering an SSH public key for CLI login is nearly identical to standard Linux.
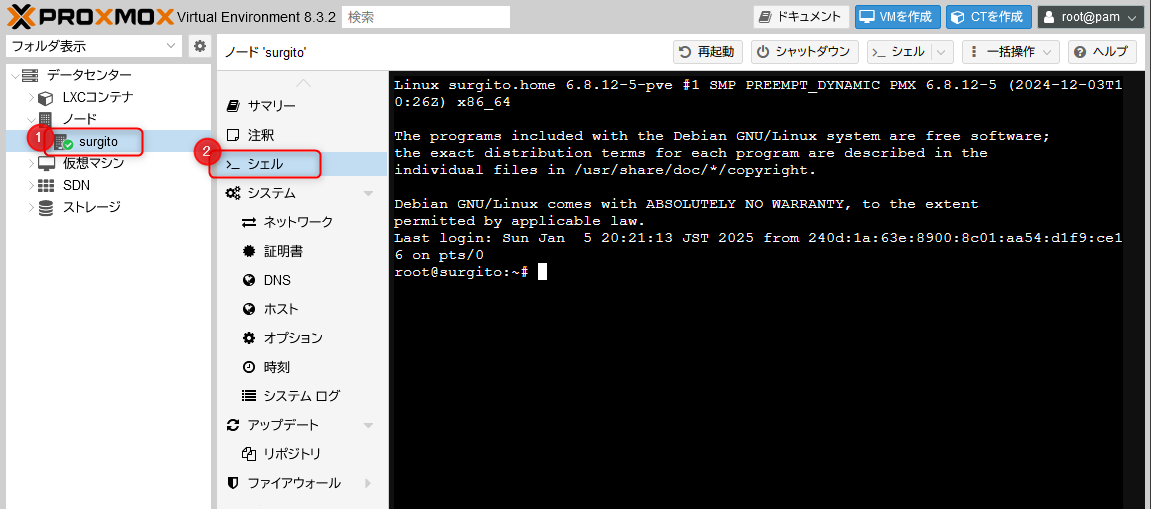
In the WebUI, select the node name → [>_ Shell] to open a console
Edit with vi
vi ~/.ssh/authorized_keys
Paste the SSH public key already generated on the client PC, then save and exit vi
wq!
Exit the console with exit and confirm you can SSH in with the public key from RLogin, PuTTY, Windows Terminal, etc.
Time Synchronization
Change chronyd config from CLI
vi /etc/chrony/chronyd.conf
Change the pool line to ntp.nict.jp or ntp.jst.mfeed.ad.jp and save. The default points to Debian servers, which means queries go overseas.
# pool 2.debian.pool.ntp.org iburst
pool ntp.nict.jp iburst
Restart chronyd after the change
systemctl restart chronyd.service
Temperature Monitoring
Depending on the chassis, you can check the status of various temperature sensors.
Add the package from CLI
apt install xsensors
Check with the sensors command
# sensors
coretemp-isa-0000
Adapter: ISA adapter
Package id 0:  +37.0°C  (high = +105.0°C, crit = +105.0°C)
Core 0:        +33.0°C  (high = +105.0°C, crit = +105.0°C)
Core 1:        +33.0°C  (high = +105.0°C, crit = +105.0°C)
Core 2:        +33.0°C  (high = +105.0°C, crit = +105.0°C)
Core 3:        +33.0°C  (high = +105.0°C, crit = +105.0°C)

acpitz-acpi-0
Adapter: ACPI interface
temp1:        +27.8°C

nvme-pci-0500
Adapter: PCI adapter
Composite:    +44.9°C  (low  =  -0.1°C, high = +83.8°C)
                       (crit = +87.8°C)
Sensor 1:     +51.9°C  (low  = -273.1°C, high = +65261.8°C)
Sensor 2:     +44.9°C  (low  = -273.1°C, high = +65261.8°C)
Coming Up Next
Now that the groundwork for installing KVM virtual machines and LXC containers is in place, we’ll go ahead and build actual virtual machines.
References
- Introduction to Proxmox VE for the Lost Sheep ep1 — Installation Weekend Researcher Tsurezure Diary, 2024-03-10
- Installing Proxmox VE 8 Qiita, 2023-11-11
- Proxmox VE: A Virtualization Platform That Makes GPU Passthrough Easy INTERNET Watch, 2022-10-17