This page was generated by AI-assisted automatic translation from the original Japanese article.
The original article was written assuming a Japanese-language environment. If you are running MX Linux in English, some on-screen messages and option labels may differ from what is described here.
Introduction
I haven’t gotten around to writing a blog post about it yet, but since around spring 2024 I gave up on VyOS and have been migrating VPN routers across various locations to OpenWrt. The advantages of OpenWrt and the migration story would make this post too long, so I’ll skip it here — but there was a major reason I was hesitant to write it up.
- OpenWrt has no conventional “installer”
OpenWrt originally started as a project to rewrite the firmware of existing commercial routers as open-source Linux. As a result, it occupies a unique position.
As in my previous article on building a VyOS router, it can be installed on an x86 bare-bones PC or used as a virtual router on a VM. I had migrated most of my site-to-site VPN routers — previously built with pfSense, OPNsense, and VyOS — over to OpenWrt, but as mentioned above, the lack of an installer makes the initial setup somewhat challenging.
Without an installer package, the way to install it is:
- Write a disk image including the partition table directly onto the HDD/SSD as raw data
This requires disassembling the PC router, removing the boot storage (HDD/SSD/SD card), attaching it to a Windows PC via a USB adapter, writing the disk image with some tool, then reassembling and booting. If the write settings are wrong it won’t boot, so this process repeats several times. The disassembly + reassembly steps add up, and I ended up ordering sketchy USB conversion adapters (SATA, mSATA, NVMe) from Amazon each time I needed them.
This is way too niche to recommend broadly in a blog post, and if “you need to buy a special adapter you’ll rarely use,” that’s enough to kill any motivation to try it.
Looking for a better way to deploy and maintain OpenWrt going forward, I thought:
- What if I boot Live Linux from a USB drive on the PC router and write the image with
dd? - No disassembly needed, no USB-SSD adapter required
After some trial and error, that’s how I discovered MX Linux.
Features of MX Linux
MX Linux is a Live Linux with these distinctive features:
- Relatively fast boot among USB Live Linux distributions
- Can be deployed to a USB drive in FAT32 format
- Files can be added from a Windows PC
- → OpenWrt
.imgfiles can be added from Windows in advance
- → OpenWrt
- Files can be added from a Windows PC
- Supports both Legacy BIOS and EFI, with MBR/GPT partitioning options
- Specified at USB creation time
- GUI is available
- Choose from Xfce / KDE / Fluxbox
- Ships with Firefox, Thunderbird, and more by default
- Freely available on GitHub
- Debian-based, tracking current kernels and standard packages
- Community-contributed documentation available
MX Linux Setup
Preparing the USB Drive
Any USB drive of around 16GB or more on hand will work, but USB 3.0 (5Gbps) or faster is recommended. A rough guide: USB Type-A connectors with a blue insert. Older USB 2.0 types with white inserts only deliver about one-tenth the speed and are frustrating to use.
Even faster USB drives (10Gbps/20Gbps+) are comfortable but expensive and generate significant heat — personally not recommended.
For this guide I’ll recommend the Japanese-made KIOXIA (formerly Toshiba Memory) TransMemory U301 32GB. As of April 2025, it’s around ¥700–900 on Amazon.
Downloading MX Linux
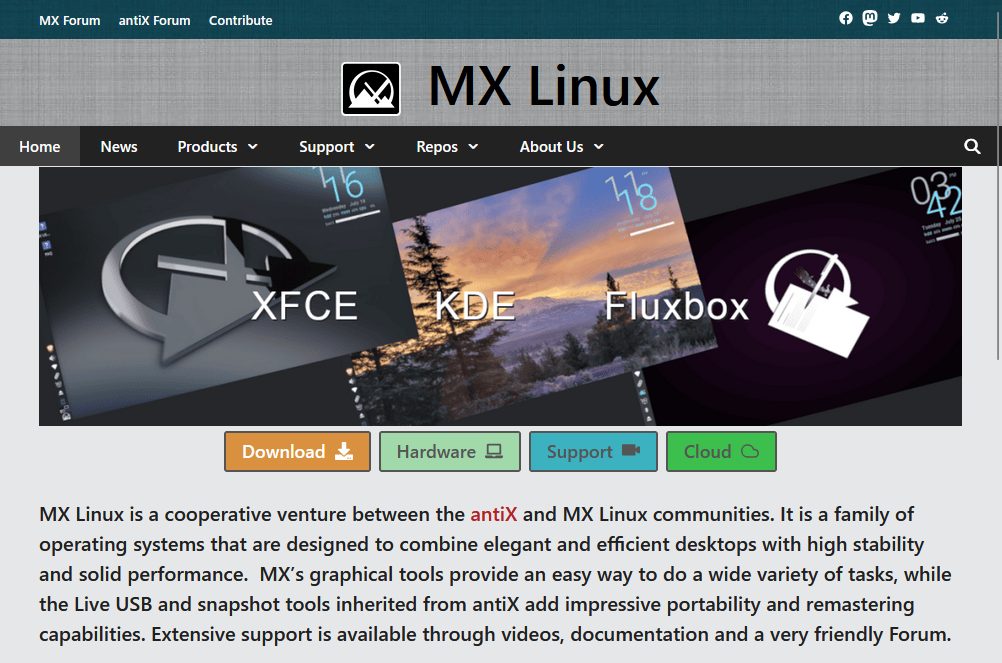
In a browser on your Windows work PC, download the image from the site below.
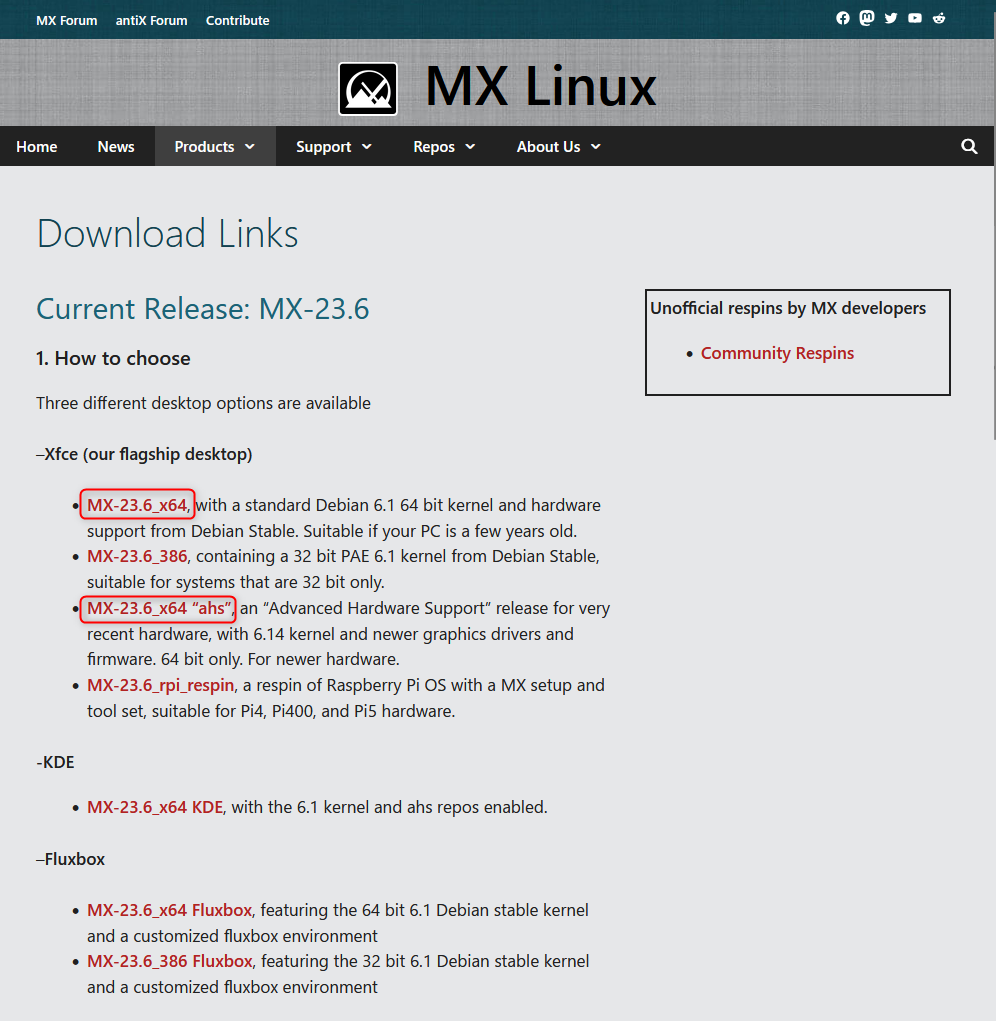
For the purpose of this article — “just want to use it to write OpenWrt” — MX-nn.n_x64 is recommended. Most PCs from the past 10 years support 64-bit, so there are no memory or disk size restrictions.
If you want the latest graphics drivers, try the ahs (Advanced Hardware Support) image.
As of 2025/4/21, download and save MX-23.6_x64.iso from the link above.
Preparing Rufus
Download the latest version of Rufus.
As of 2025/4/21, that’s rufus-4.7p.exe.
No installation needed — just save it in the same folder as the MX Linux .iso.
Installing to USB Drive
- Insert the USB drive for MX Linux into the Windows PC
- No need to format it
- Launch Rufus

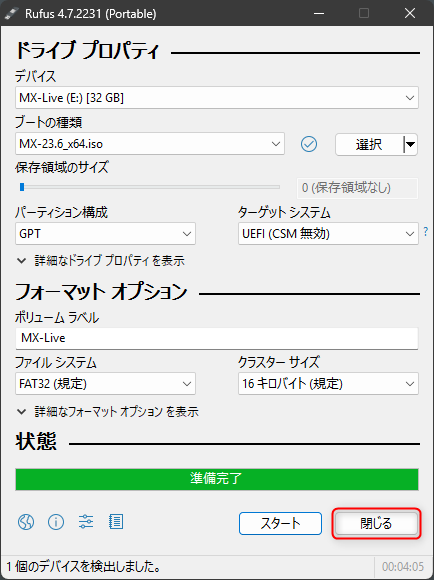
- Double-check “Device” is the USB drive you intend to write — verify by capacity
- Click [Select] and choose the downloaded
.isofile - Partition scheme: [GPT]
- File system: FAT32
- Leave other settings unchanged
- Click [Start]
- “ISOHybrid image detected”
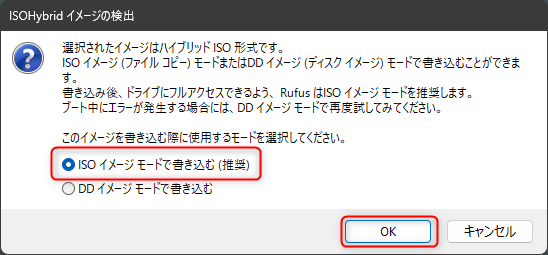
- Select “Write in ISO Image mode” → [OK]
- “Rufus”
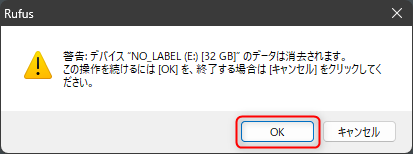
- When the data erasure warning appears, do a final check that the target device is correct
- Click [OK] if everything looks right
- Wait until the green progress bar under “Status” reaches 100%
- When done, it shows “Ready” — click “Close”
- Right-click the Explorer icon in the taskbar → “Eject”
- Remove the USB drive
First Boot on the MX Linux PC
- Connect monitor, keyboard, and mouse to the PC, insert the USB drive you just created, and power on
- For GPT / EFI boot, make sure Secure Boot is OFF in the BIOS
- Either set the USB drive as the top boot priority in the BIOS, or select the USB drive from the boot menu each time you start
MX Linux Bootloader — Initial Configuration
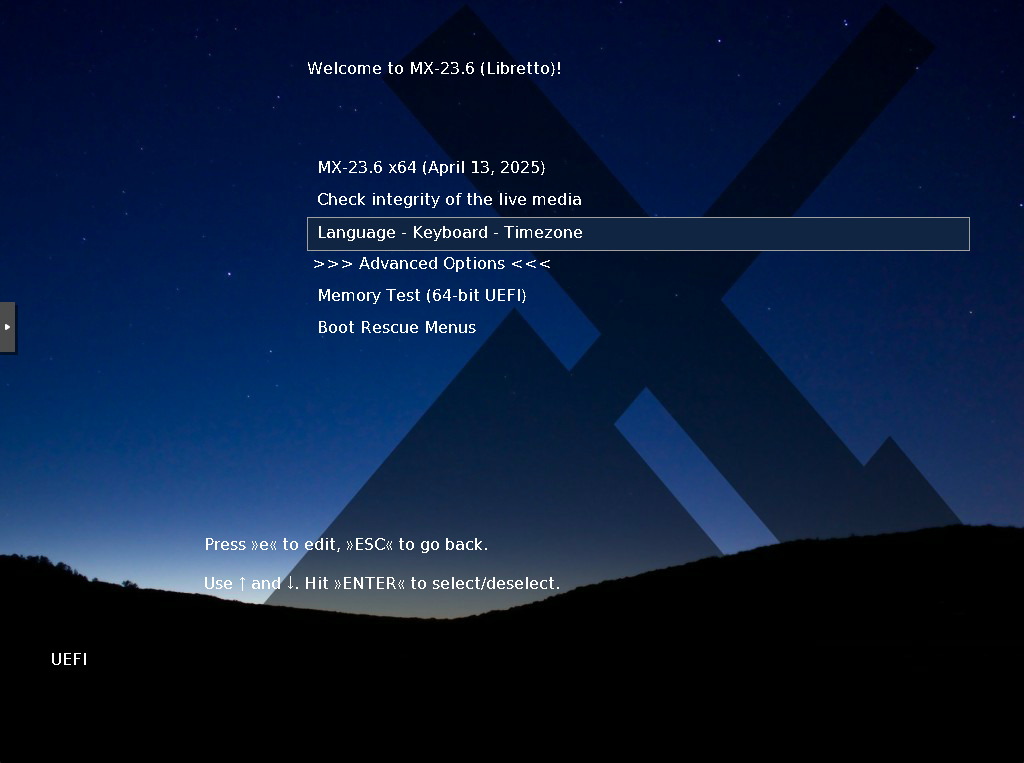
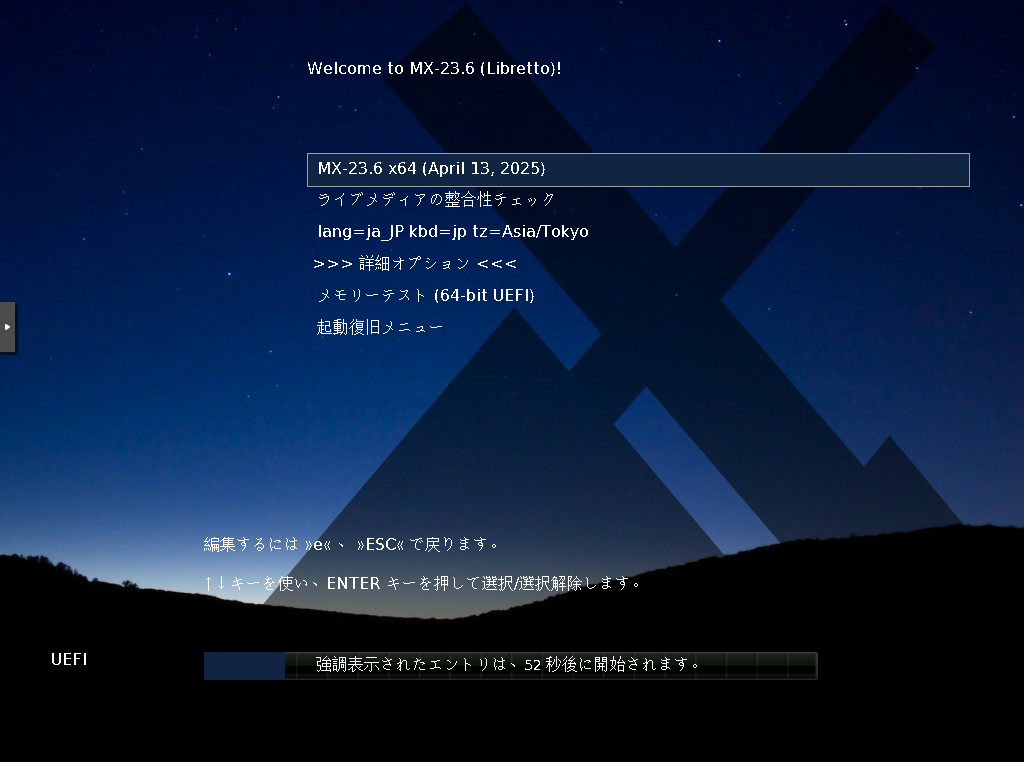
When booting from the USB drive, you enter the bootloader (Grub) configuration screen.
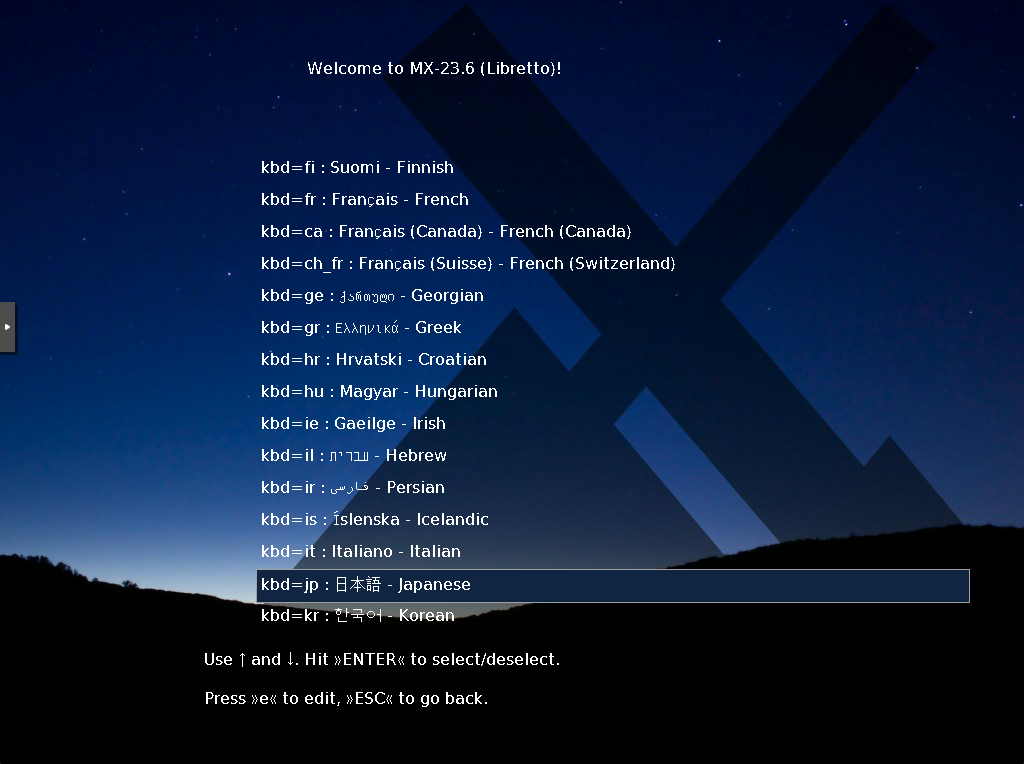
Select Language - Keyboard - Timezone and press [Enter]
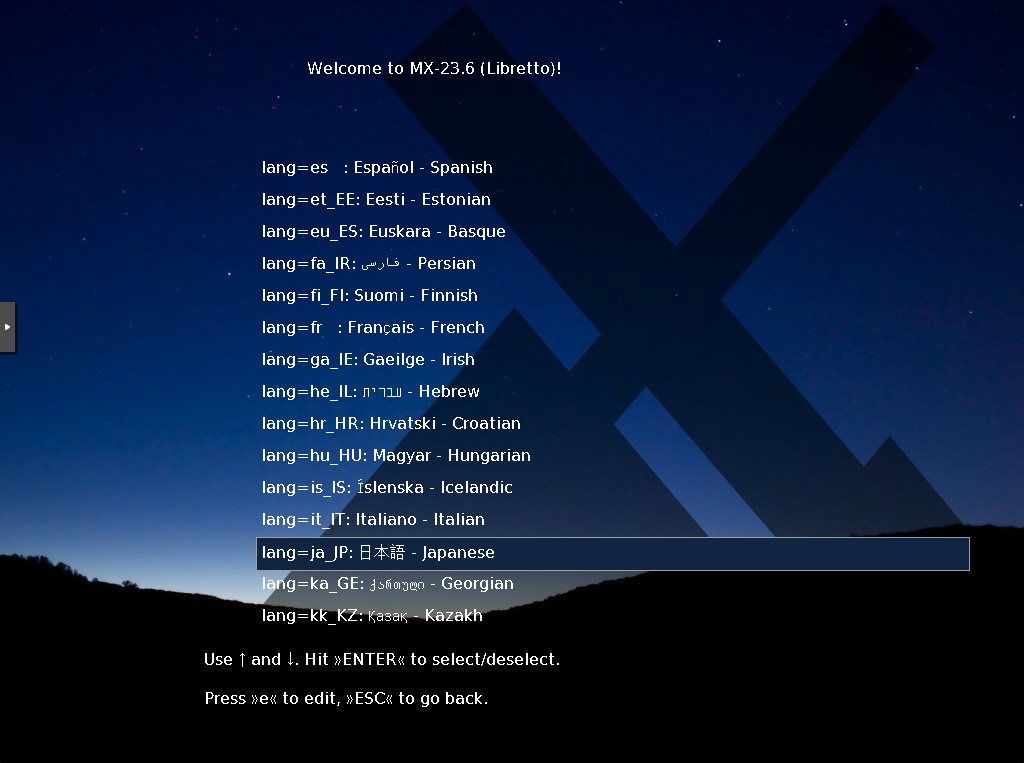
Select lang=ja_JP: Japanese and press [Enter] (or your preferred language)
From the previous menu, enter Keyboard selection and press [Enter] for kbd=jp: Japanese (or your layout)
Return to Main Menu
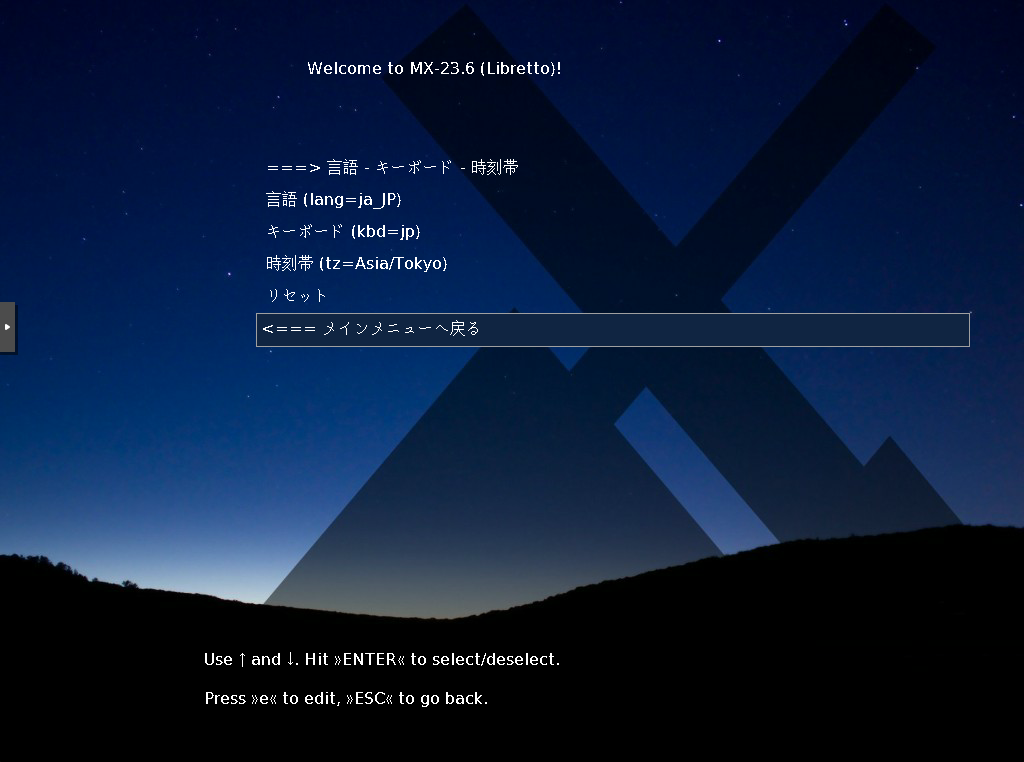
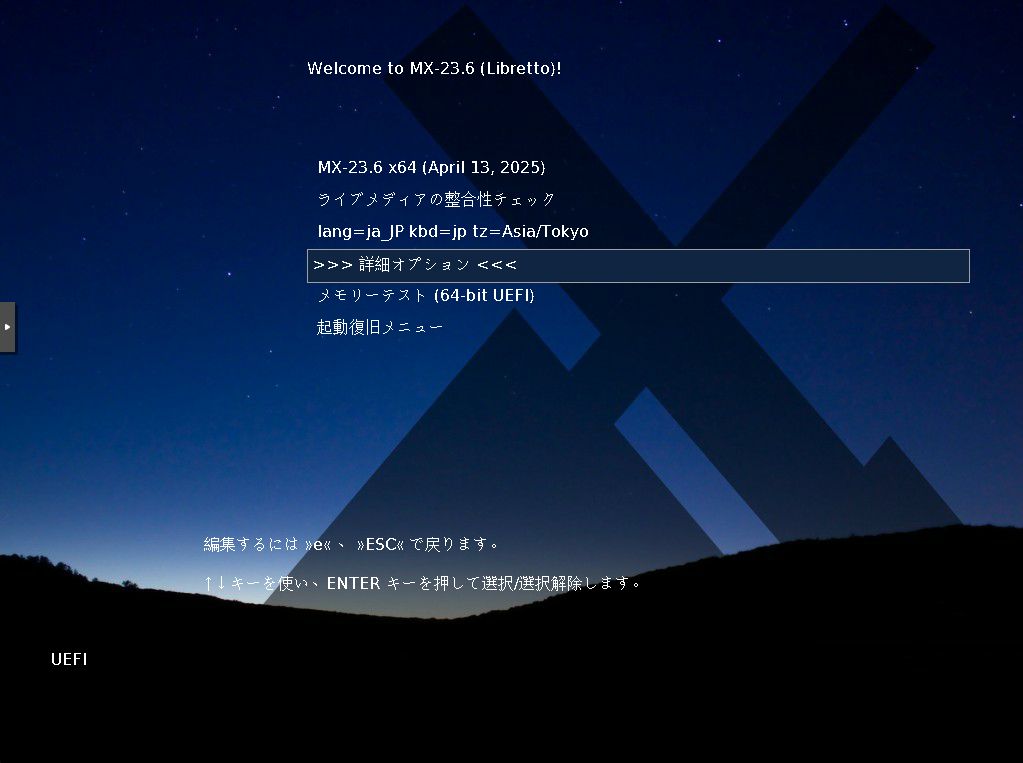
Confirm it shows lang=ja_JP kbd=jp tz=Asia/Tokyo (or your settings)
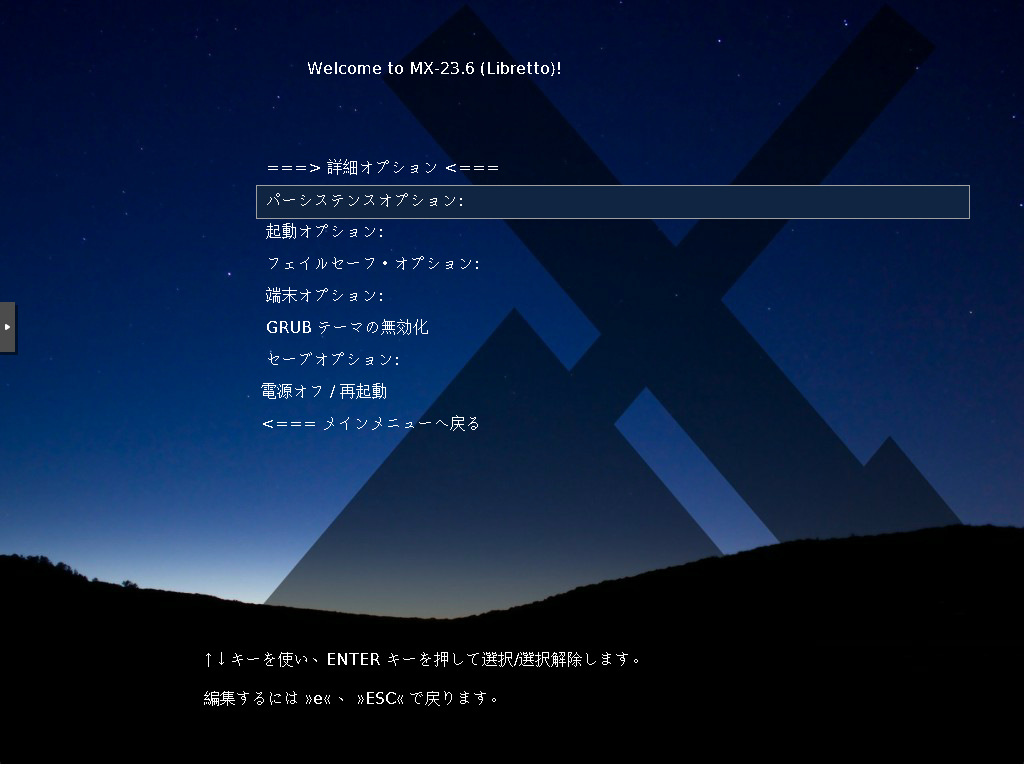
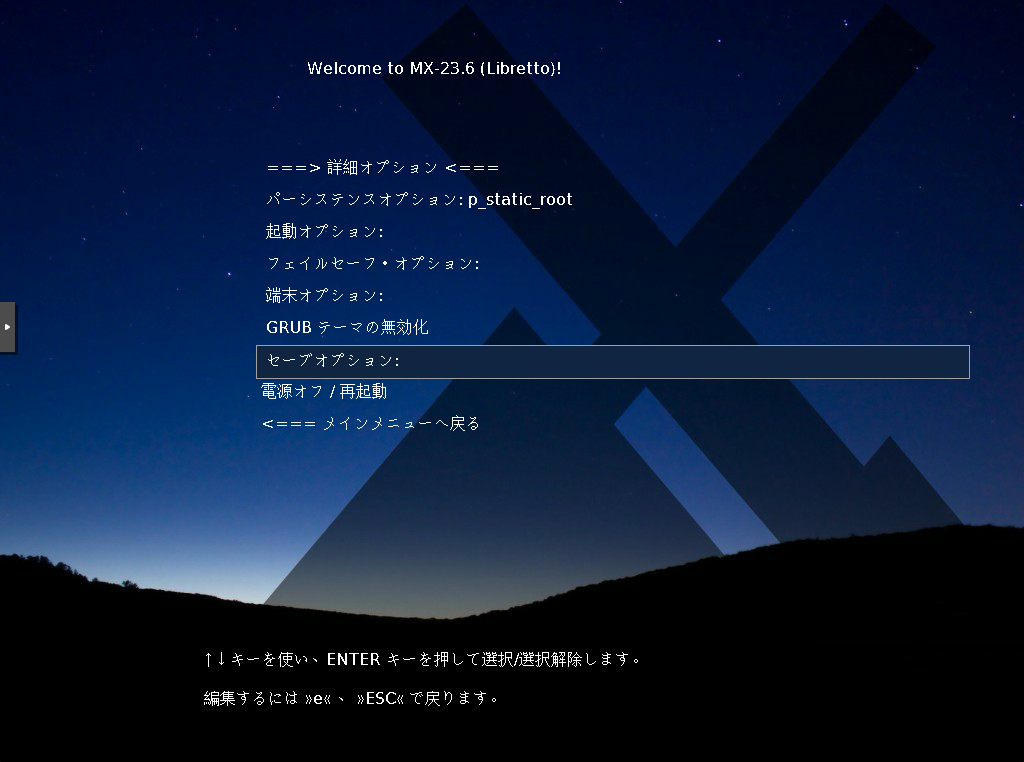
Enter Advanced Options
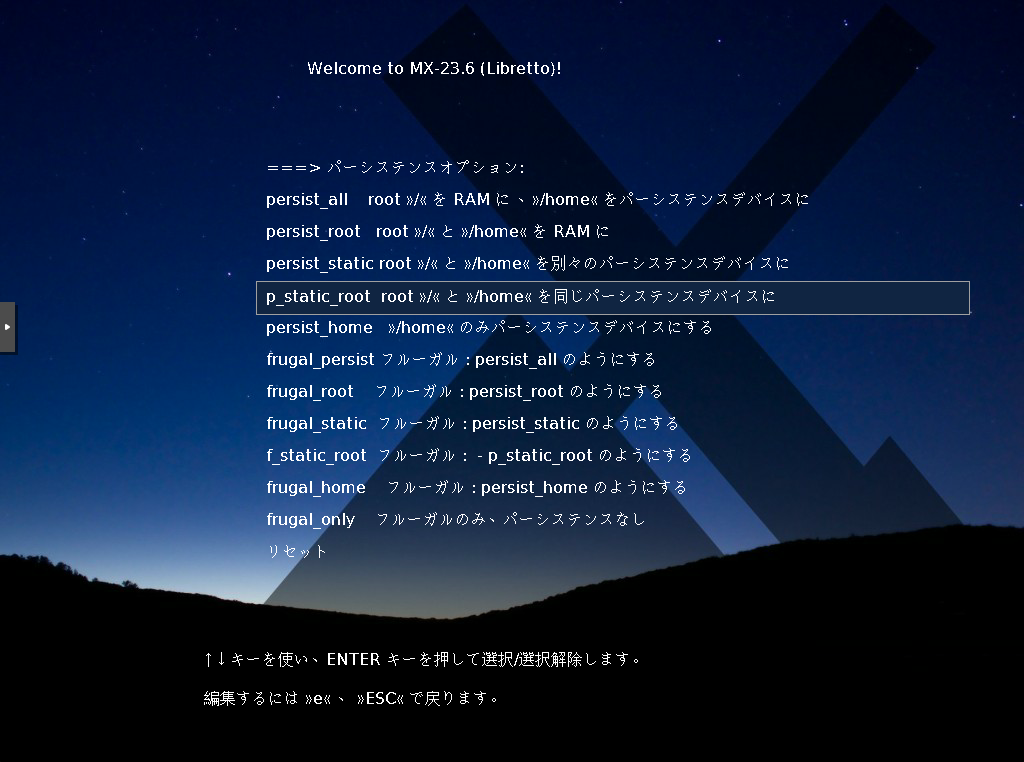
Enter Persistence Options:
Select p_static_root to save all changes
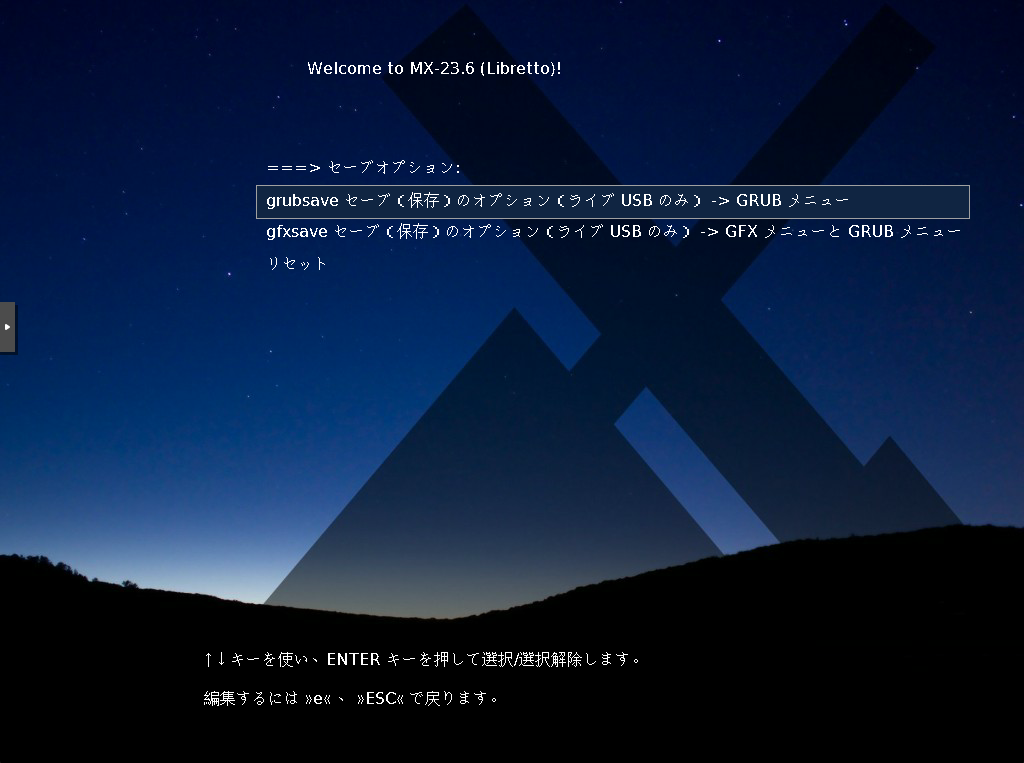
Select Save Options:
Select grubsave to save the boot settings so far
Return to Main Menu
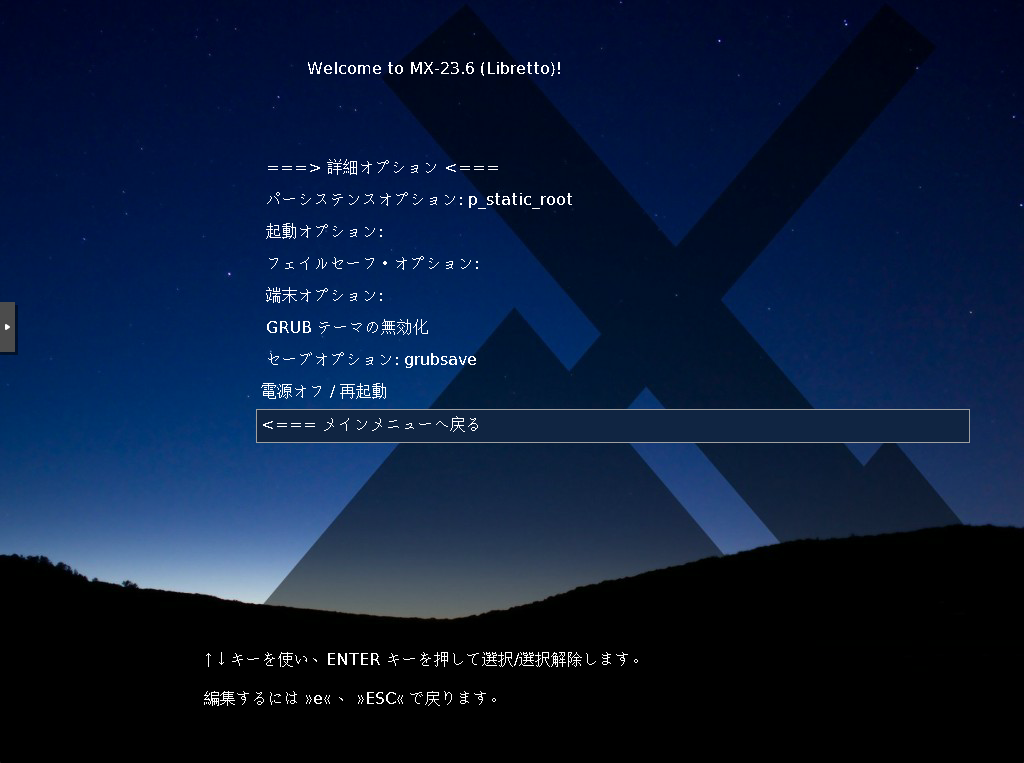
Select the top item MX-nn.n x64 (date) to boot MX Linux
MX Linux First Boot
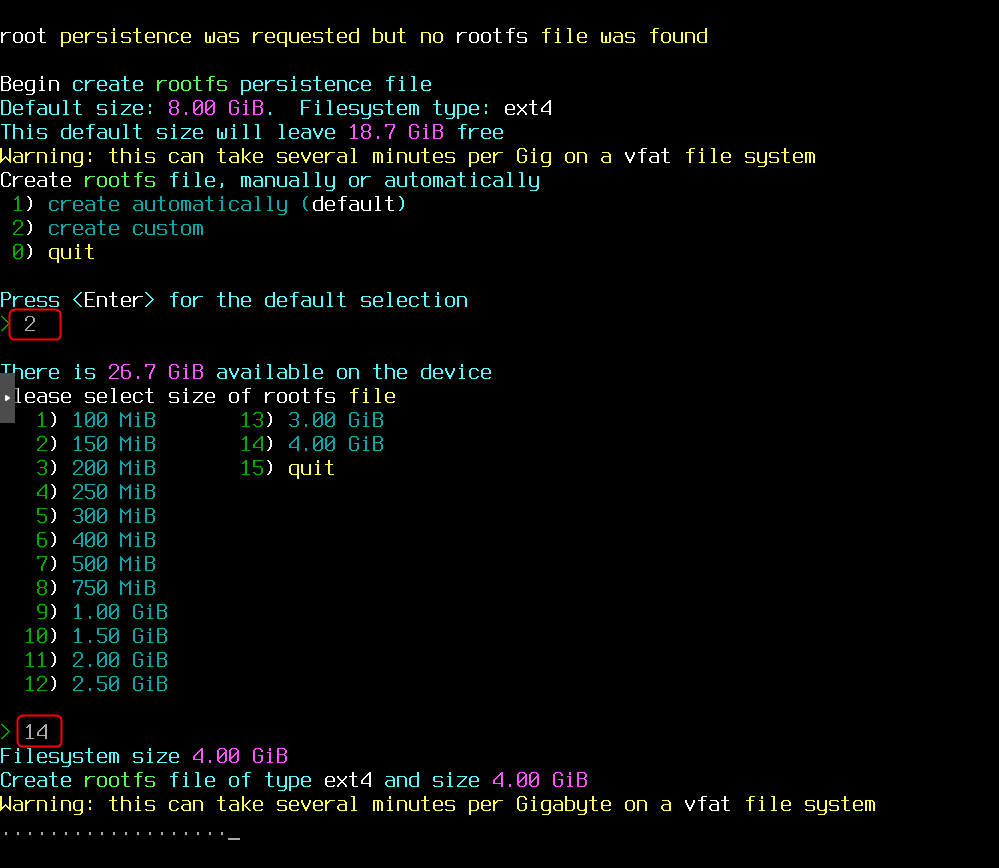
You’ll be prompted to create a persistence area — specify 2) create custom → 14) 4.00GiB
No SWAP file on the USB drive, so n[Enter]

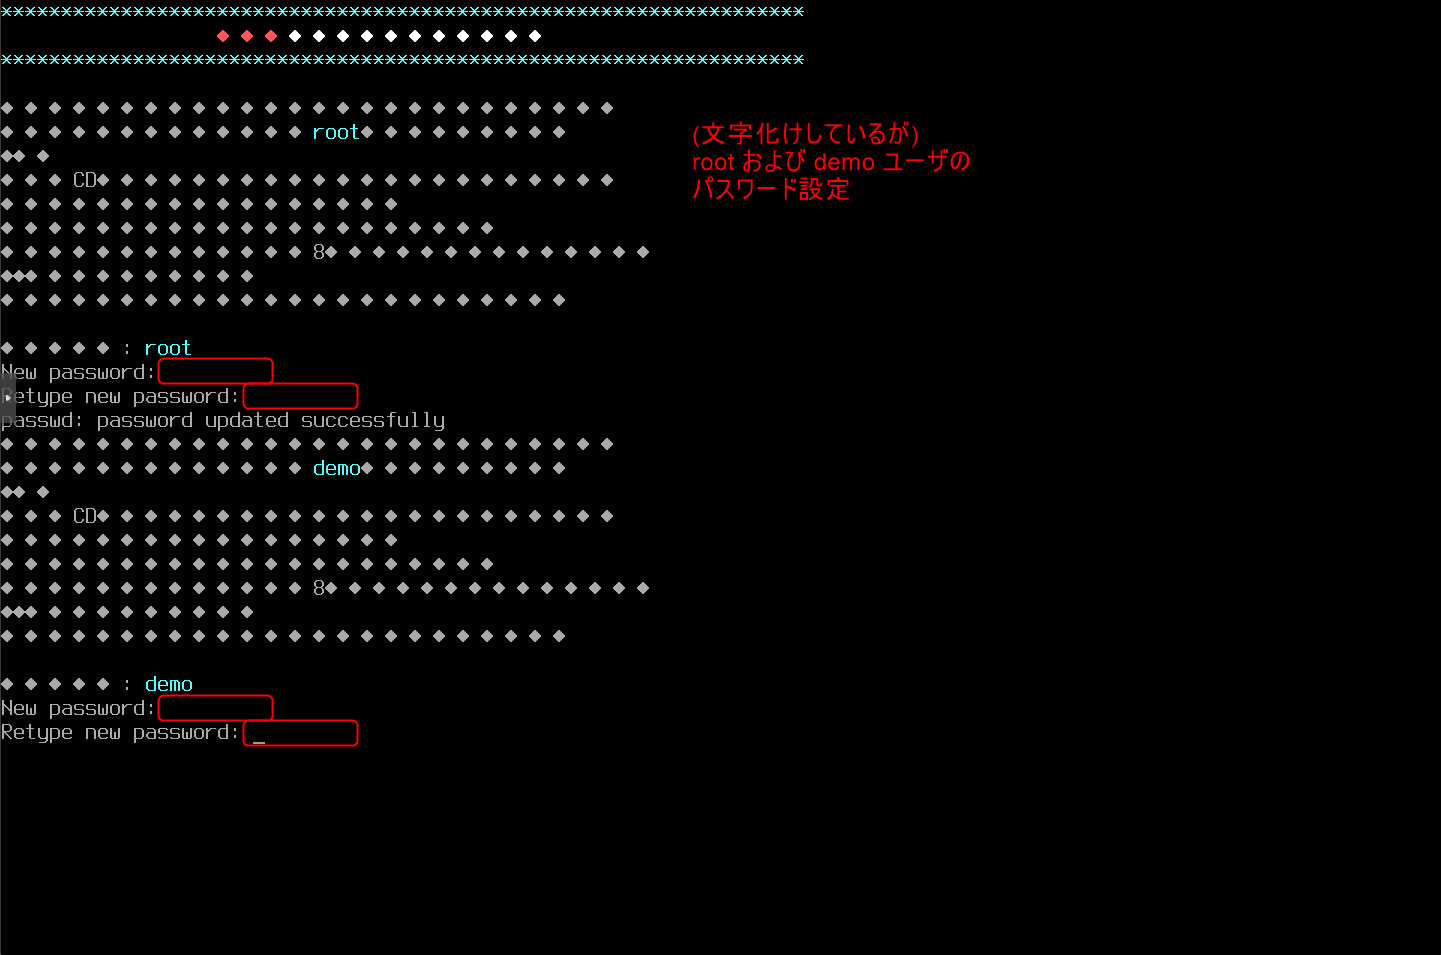
You’ll be asked for a root password and demo password (enter each twice)
Once all entries are made, the OS loads
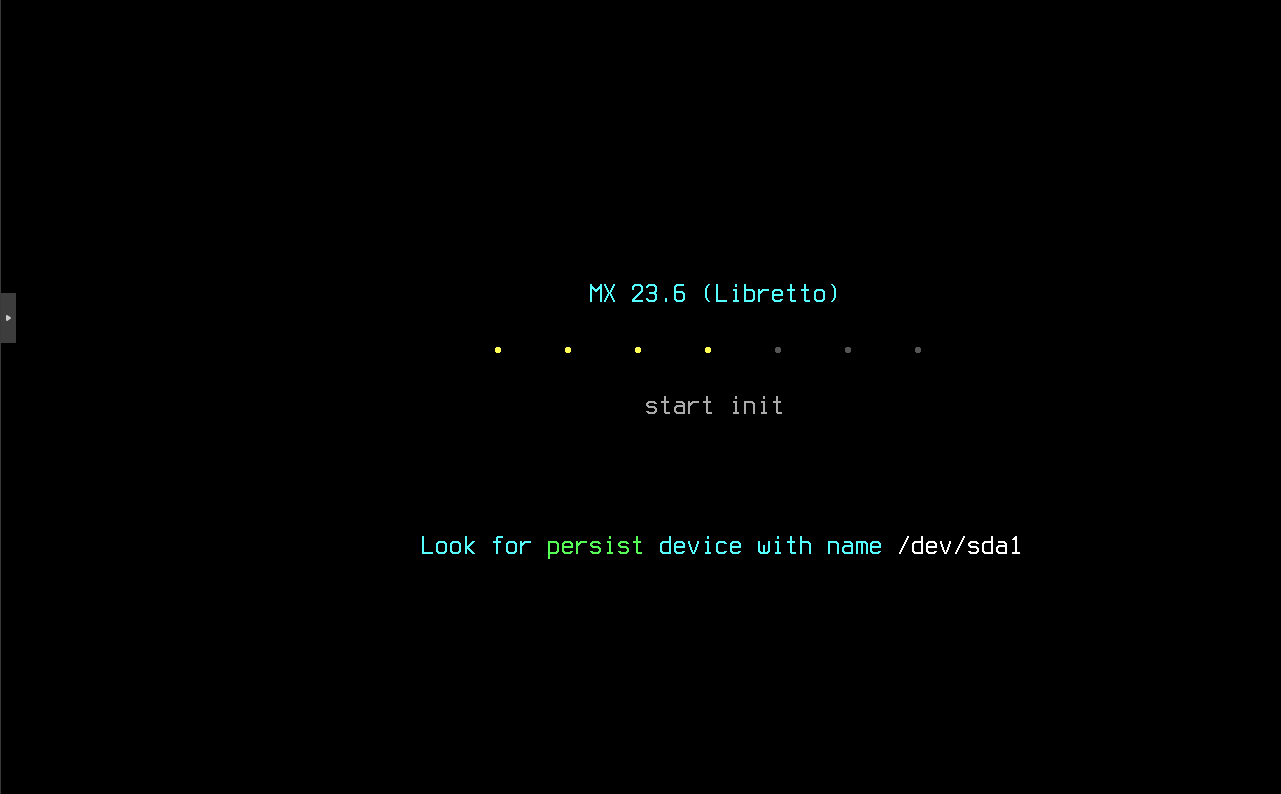
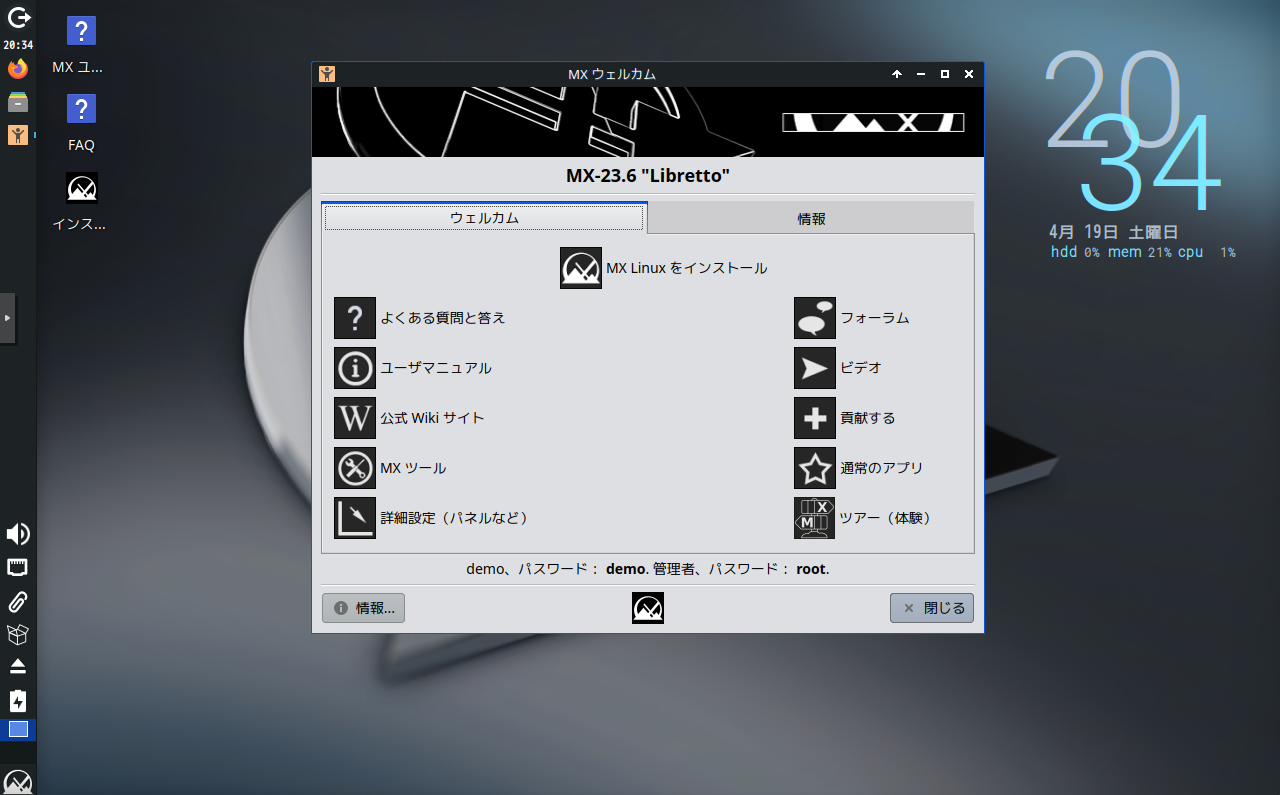
MX Linux First Boot — GUI Desktop
If everything went well, the desktop appears. No login action is needed — you’re automatically logged in as the demo user.
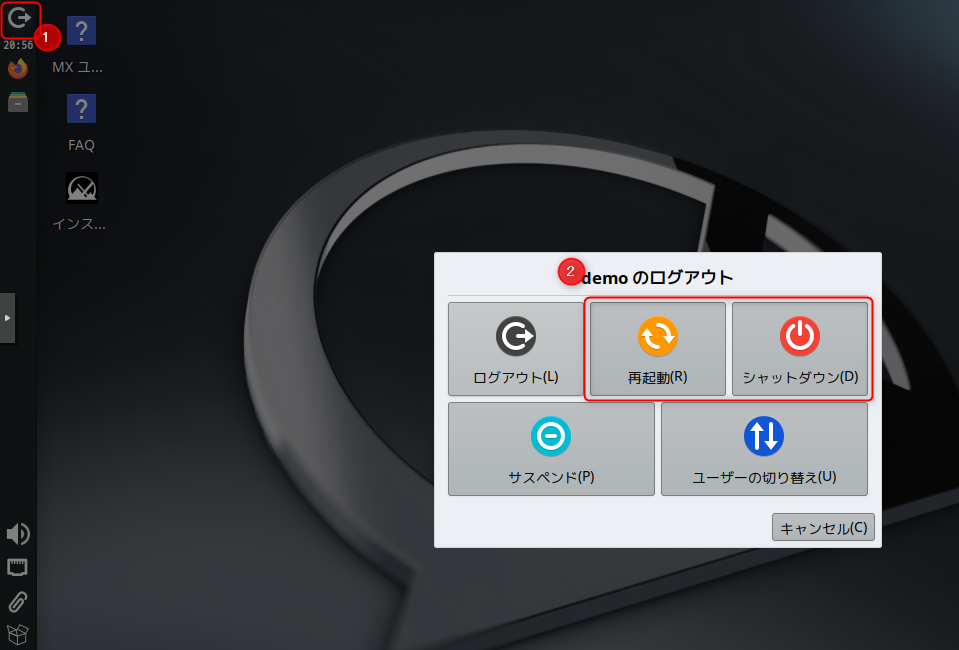
How to Shut Down from the GUI
Click the icon in the top left → click Shutdown or Reboot
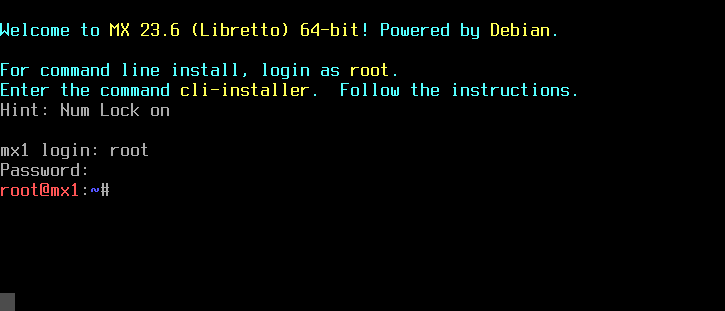
Booting Without the GUI
According to MX Linux: Boot parameters, appending 3 to the Linux kernel options means Run level 3 (text mode).
In the Grub boot menu, select the MX-23.6 x64 line and press [e]

This opens the kernel boot option editor — append 3 at the end of the linux line and boot with [F10].

The GUI won’t start and you’ll get a CLI screen. Log in as root with the root password set earlier.
File Exchange: Windows PC ↔ MX Linux
Windows PC Side:
Files can be placed inside the MX Linux USB drive using Windows Explorer.
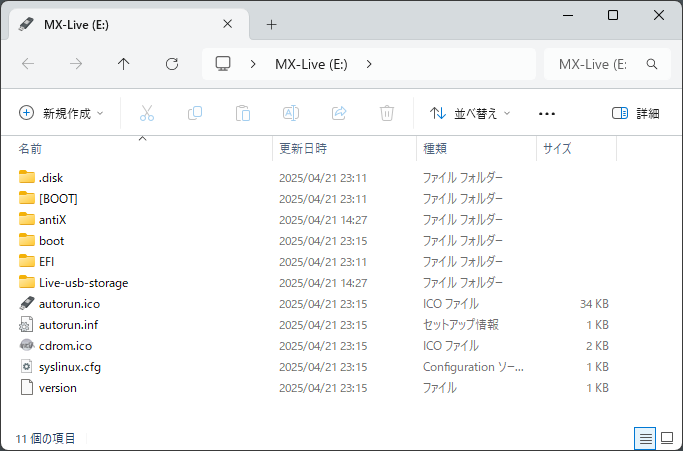
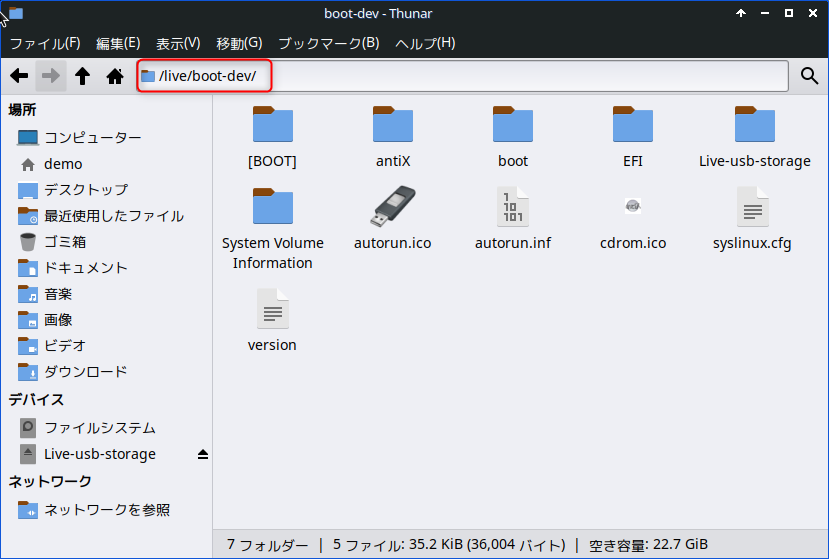
MX Linux Side
Open /live/boot-dev/ in the file manager to browse the top folder of the USB drive.
Impressions
- Common distributions like CentOS Stream, Rocky Linux, and Ubuntu do have Live Linux versions, but they seem positioned as emergency boot environments where system changes aren’t preserved.
- These use filesystems like ext4, making them unsuitable for file exchange with Windows.
- MX Linux is designed with FAT32 filesystem use in mind and also provides a persistence (change persistence) feature, making it an extremely flexible and agile distribution.